

A few months ago, the kids and I played around with making our own crystal snowflakes. (how to and amazing results here) It really had nothing to do with anything we were studying but hey, it was winter and we weren’t getting any snow so we needed to make our own. Or something like that.
Anyway, we loved growing the alum crystals. I spent some time on Pinterest looking for other ways to grow crystals. Currently, I have pinned to my Science board to try these sparkly crystal geode eggs (good Easter project, anyone?) and these overnight crystal gardens. While I was perusing the many ideas on the internet, and pondering many sciency things, I remembered the magic crystal trees that I had purchased as a kid and then grown at home. Does anyone else remember these? Apparently, there are still versions of those scientific little wonders for sale. When I saw the familiar puffy crystal branches, it immediately made me think of coral. What if we could grow our own magic crystal coral reef? That would fit in perfectly with our ocean unit study.
If you search “how to make your own magic crystal tree,” you’ll find dozens of websites with clear instructions. It seemed like it would be fairly easy to adapt it to a piece of coral instead of a pine tree. And so we attempted to make our own crystal coral reefs with fantastic results. Get these supplies if you want to try it for yourself: one or two pieces of cardboard, table salt, ammonia, Mrs. Stewart’s bluing, scissors, pencil, water, food coloring, and a glass dish.

First, you will need to draw and cut out your coral shapes from the cardboard. (Note about the cardboard: it cannot be coated, like cereal box cardboard, and should not be too thin, as it would fall over with the weight of the crystals. I used the cardboard backs of some legal pads I had. They worked perfectly.) The kids looked up pictures of various types of coral online and chose two different ones to draw. Draw it once on the cardboard, cut it out, and then trace it again on the cardboard to be cut out a second time. You can see that we tried a short coral version and a tall one. Don’t make it too tall! Cut a slit from the bottom center of one of your cardboard pieces halfway up the design. Cut another slit on the other piece of cardboard halfway down the design.

Now you can put your pieces together to give your coral a 3D effect. Simply slide the two slits together and spread the piece apart until they stand nicely, as in the photo above.

Next, it is time to mix your solution. (A word of warning: keep your work area well-ventilated as ammonia has a very potent odor!) In your glass dish, mix the following: 3 TBS bluing (get it in the laundry section of your grocery store), 3 TBS water, 3 TBS salt, and 1 1/2 TBS ammonia.

Then drip some food coloring over your cardboard coral structure and carefully place it into the solution in your glass dish.
Now comes the waiting part, but don’t worry, you won’t have to wait long. The next day, Mikey came racing into my room shouting that I needed to come and see the coral now.

Sure enough, tiny delicate salt crystals had gathered on all the points of our cardboard coral reefs. It is near impossible to avoid with over-excited children, but please do your best to not touch or bump the crystals in any way. They are extremely fragile.
Two days later, the tiny salt crystals spread out over the cardboard a little more.

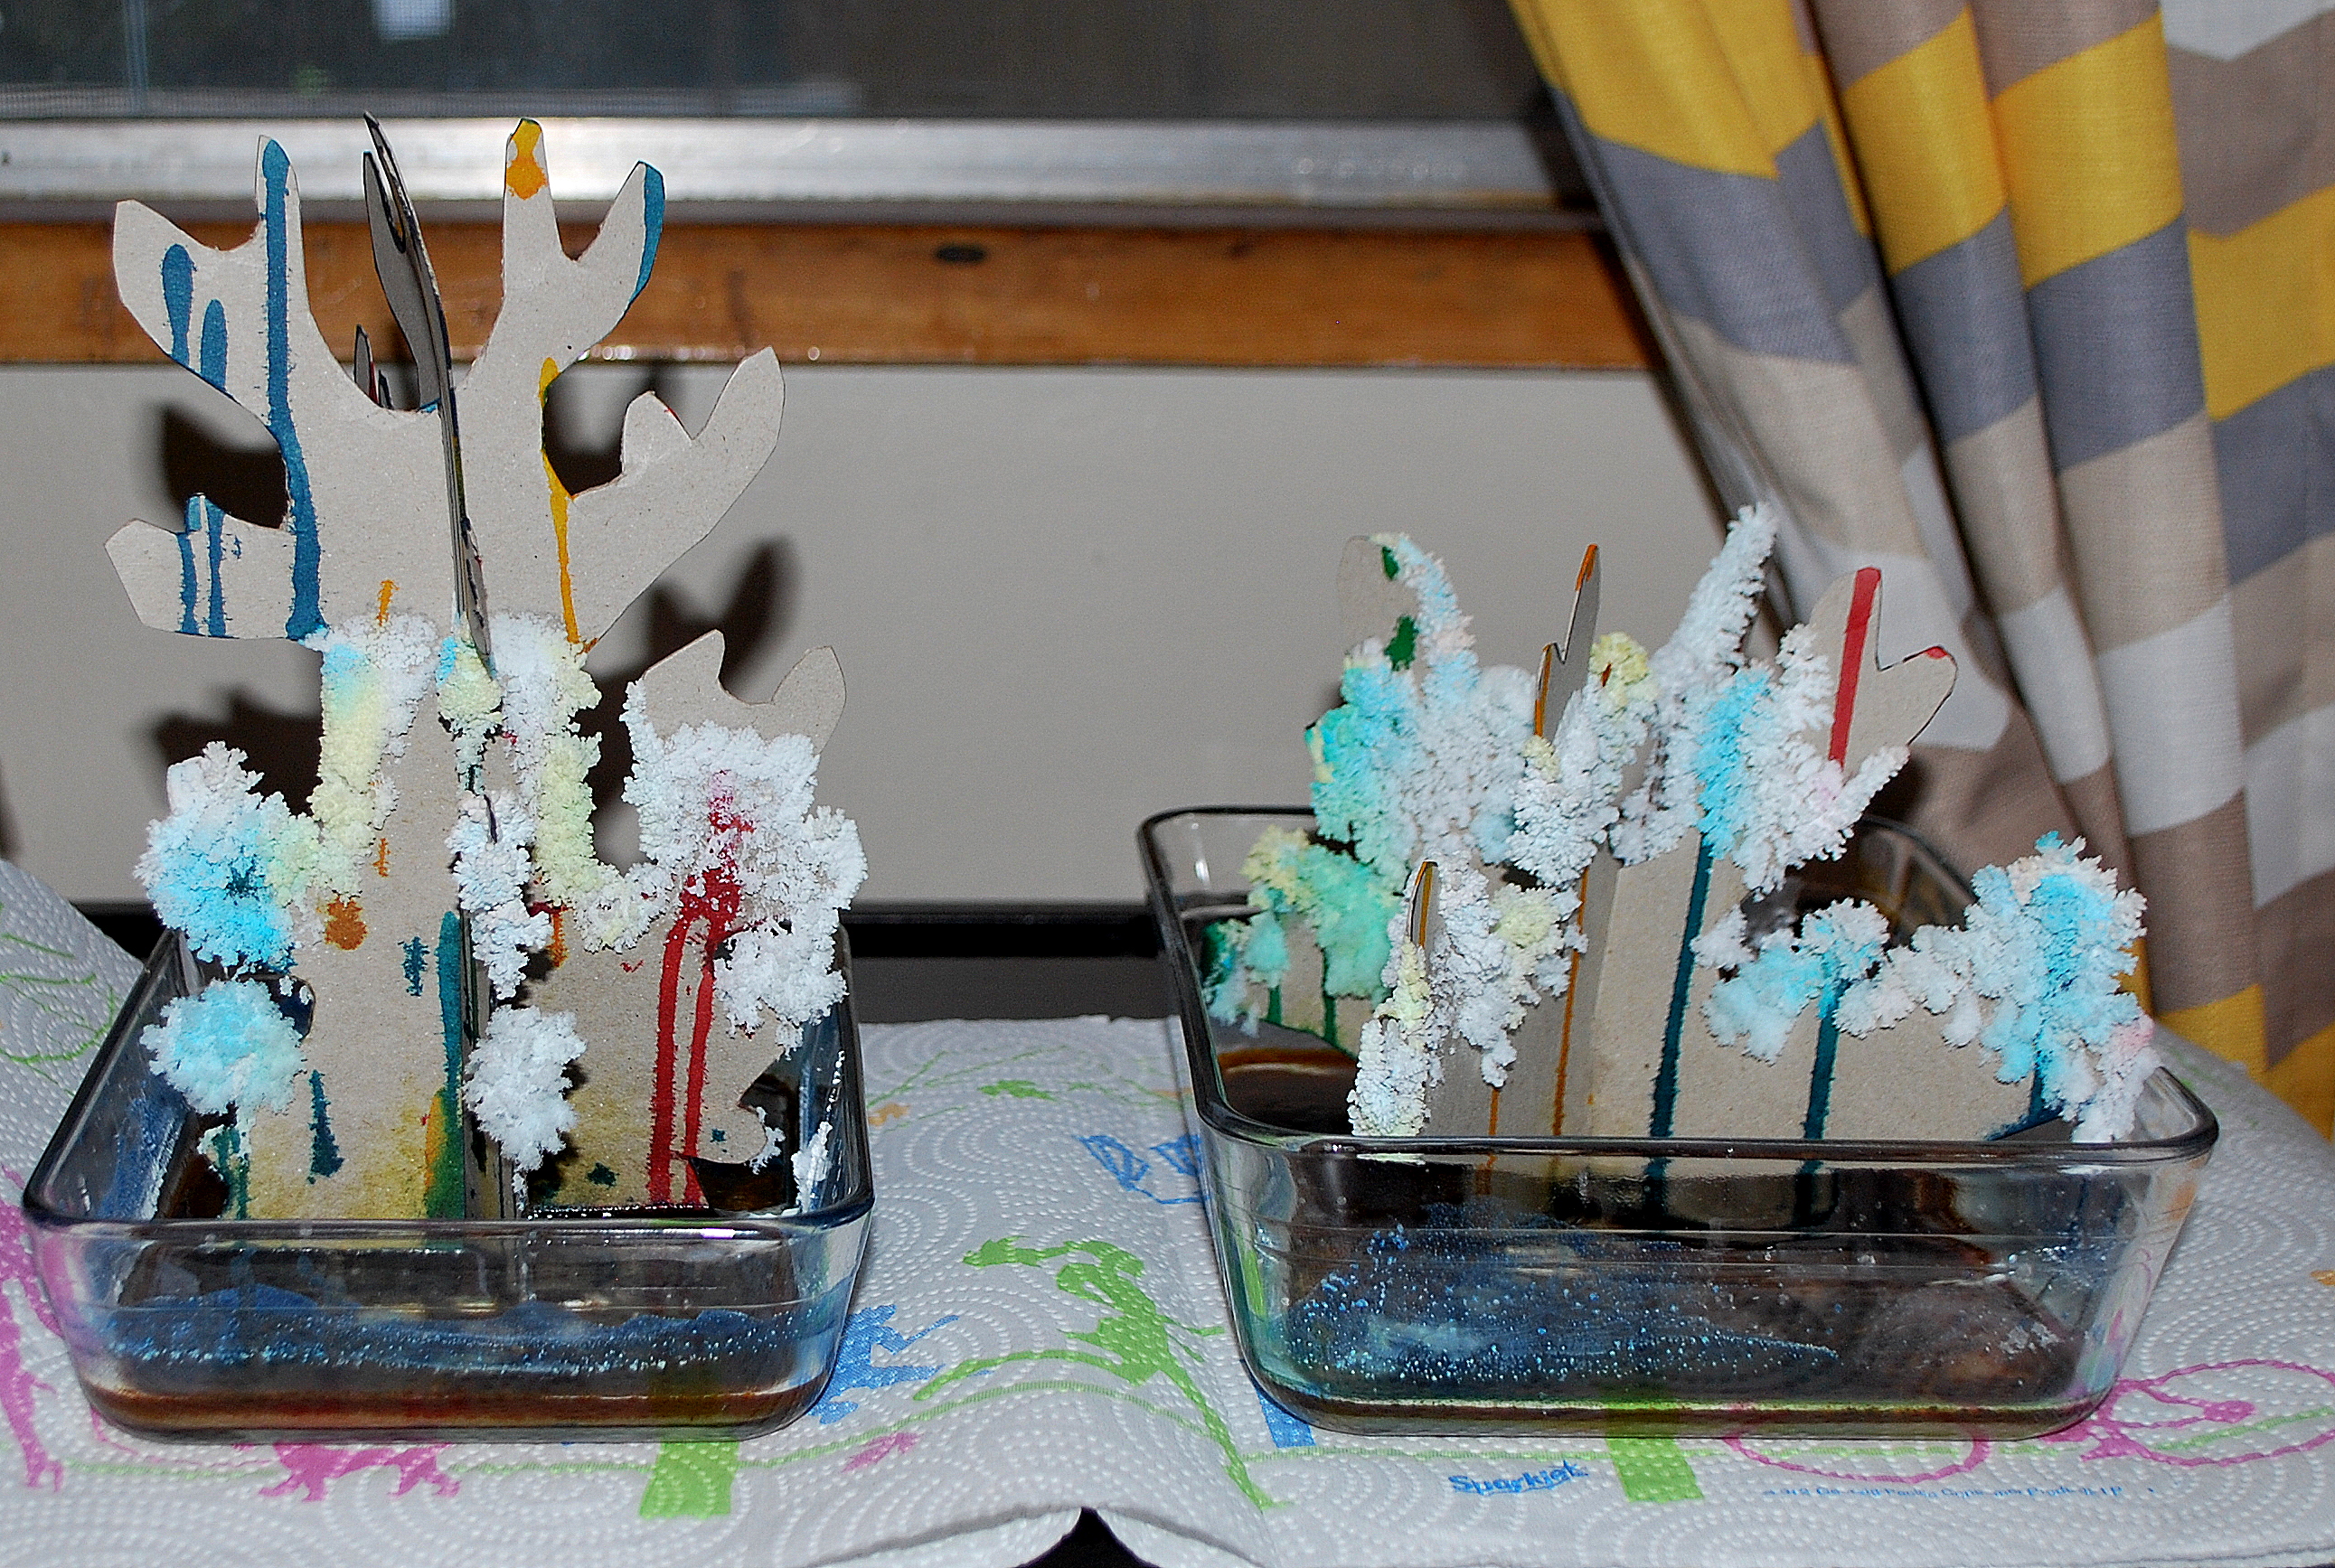
The kids were delighted to find blue, green and yellow tinged crystals sprouting up everywhere. For some unknown reason, the crystals were unaffected by the red food dye. In a few more days, the shorter coral structure was almost completely covered in crystals while the taller structure experienced crystal growth about three-quarters of the way up.

At this point, the finely detailed, sharply pointed crystals of the first two days softened into a more pillowy design. Doesn’t it look a lot like coral? Check out the similarities:

(White Coral, fine art photograph by Mary Deal, from fineartamerica.com)
The crystals do not last more than a few days before they start falling and shattering into little piles of powder. However, seeing a simple piece of cardboard burst into hundreds of beautiful little crystals is pretty amazing. And of course, being a good, responsible homeschooling mom, you are going to want to know the science behind it all, right?
We already talked about crystals and how they form in this post. In this experiment, crystallization does take place, but only after some other scientific processes occur first. The first process that has to happen is capillary action. That’s really just a couple of fancy words to describe how liquid sometimes defies gravity and goes up instead of down. In plants, water can travel up thin tubes called capillaries to give the entire plant the necessary hydration for survival and growth. You can see this happen when you stick a stalk of celery into a glass of colored water. If the tubes are skinny enough, the surface tension of the water enables it to basically “climb” up the walls of the tubes. Liquids will also climb the fibers of a piece of paper or cardboard. This video is a great demonstration of this:
In our coral crystal growing experiment, the solution in the glass dish climbed up the fibers of the cardboard. That’s when the next scientific process took place – evaporation. Evaporation is the process of liquid molecules escaping and becoming gas molecules instead. We put ammonia in the solution because it evaporates much faster than water. The ammonia and the water molecules escaped the cardboard and became gas molecules. The bluing and the salt were left on the cardboard to begin the next process – crystallization. Because the solution was so saturated with the bluing molecules and the salt molecules, these molecules are able to combine and form crystals, much like we discovered in the previous post about crystals. The bluing is a colloid, which is one substance that has another substance evenly dispersed throughout it. Some good examples of colloids are mayonnaise, our blood, and hair gel. (You can watch this little video by Martha Stewart on how to make your own colloid with starch and water that does some pretty cool things!)
Oh, and since this is part of our ocean study, it might be a good idea to study up on coral – what is it, where do you find it, and why is it important to the earth? There are lots of resources online for this, but I’ll leave you with two. First, here is a link to a free homeschool unit study on coral reefs.

And, as always, here is a short but educational video on coral reefs:
Have fun learning about these magnificent structures of the deep as you make your own magic crystal coral reefs!

Thank you for this tutorial. Do you know if there’s a way to preserve the “coral” so it lasts longer? My daughter has to do a coral reef project for school and would like to make this “coral” to go in her project. Thanks again!
Hi Beth! I do not know of a way to make it last longer. The salt crystals are pretty fragile and just from the weight will start falling off within a few days after they reach full growth. She could try doing this experiment right before the project is due and then (very carefully!) transport it to school for the day. I hope this works for you!
Thanks for the info! How many days do you think it takes to reach full growth? Three days?
If you want full coverage, I would give it four or five days. If you have time, you might want to do a practice run first to see how long yours take. 😉
Good idea, thank you!!
Hi, my daughter is also replicating this project for a science project on coral reefs. The crystallization is not making it to the cardboard and the ammonia/water/salt solution has dried up. Any ideas/suggestions on where we went wrong?
Thank you so much for this information, we have had fun with it!
Hi Michelle!
It sounds to me like there is a problem with the cardboard you are using. It might have a coating on it that is preventing the solution from “climbing up” the cardboard or it might be too thin/thick to handle it properly. The best cardboard I have found is the back of legal pads or sketch pads. I just bought a pack of them, cut the backs off, and still use the paper from the pads around the house as needed. I hope this helps!
Hello,
I wanted to use this experiment in my classroom and was wondering if the dishes HAD to be glass?
Thanks,
Hanah
Hi Hanah!
You can try using plastic dishes if that’s what you have. However, in my experience, ammonia is harsh on plastics and could ruin the dish. You can get glass dishes at the dollar store very inexpensively. Hope this helps!